1. Plan an adventure.
2. Realise this is the perfect opportunity to convince yourself that you need a new bike that will suit the demands of the adventure better than your current bike(s).
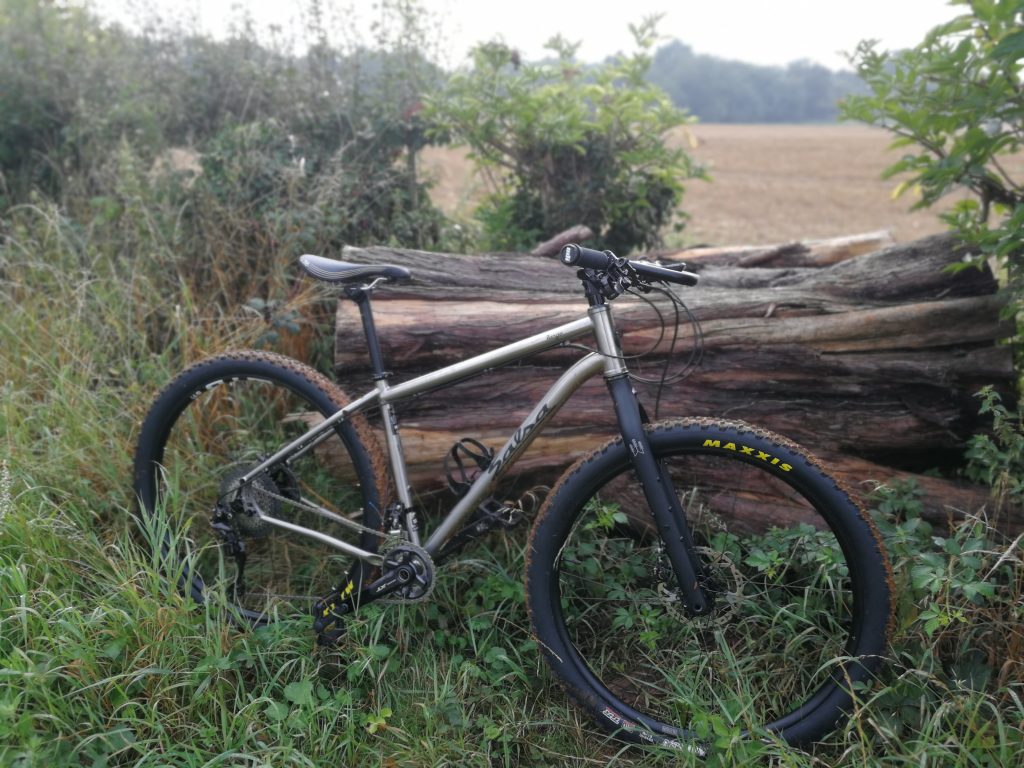
3. Spend an inordinate amount of time researching different bikes, reading reviews, watching videos, test riding builds, asking friends, before circling back to the bike you originally fell in love with. Order frameset from the lovely folks at Keep Pedalling.
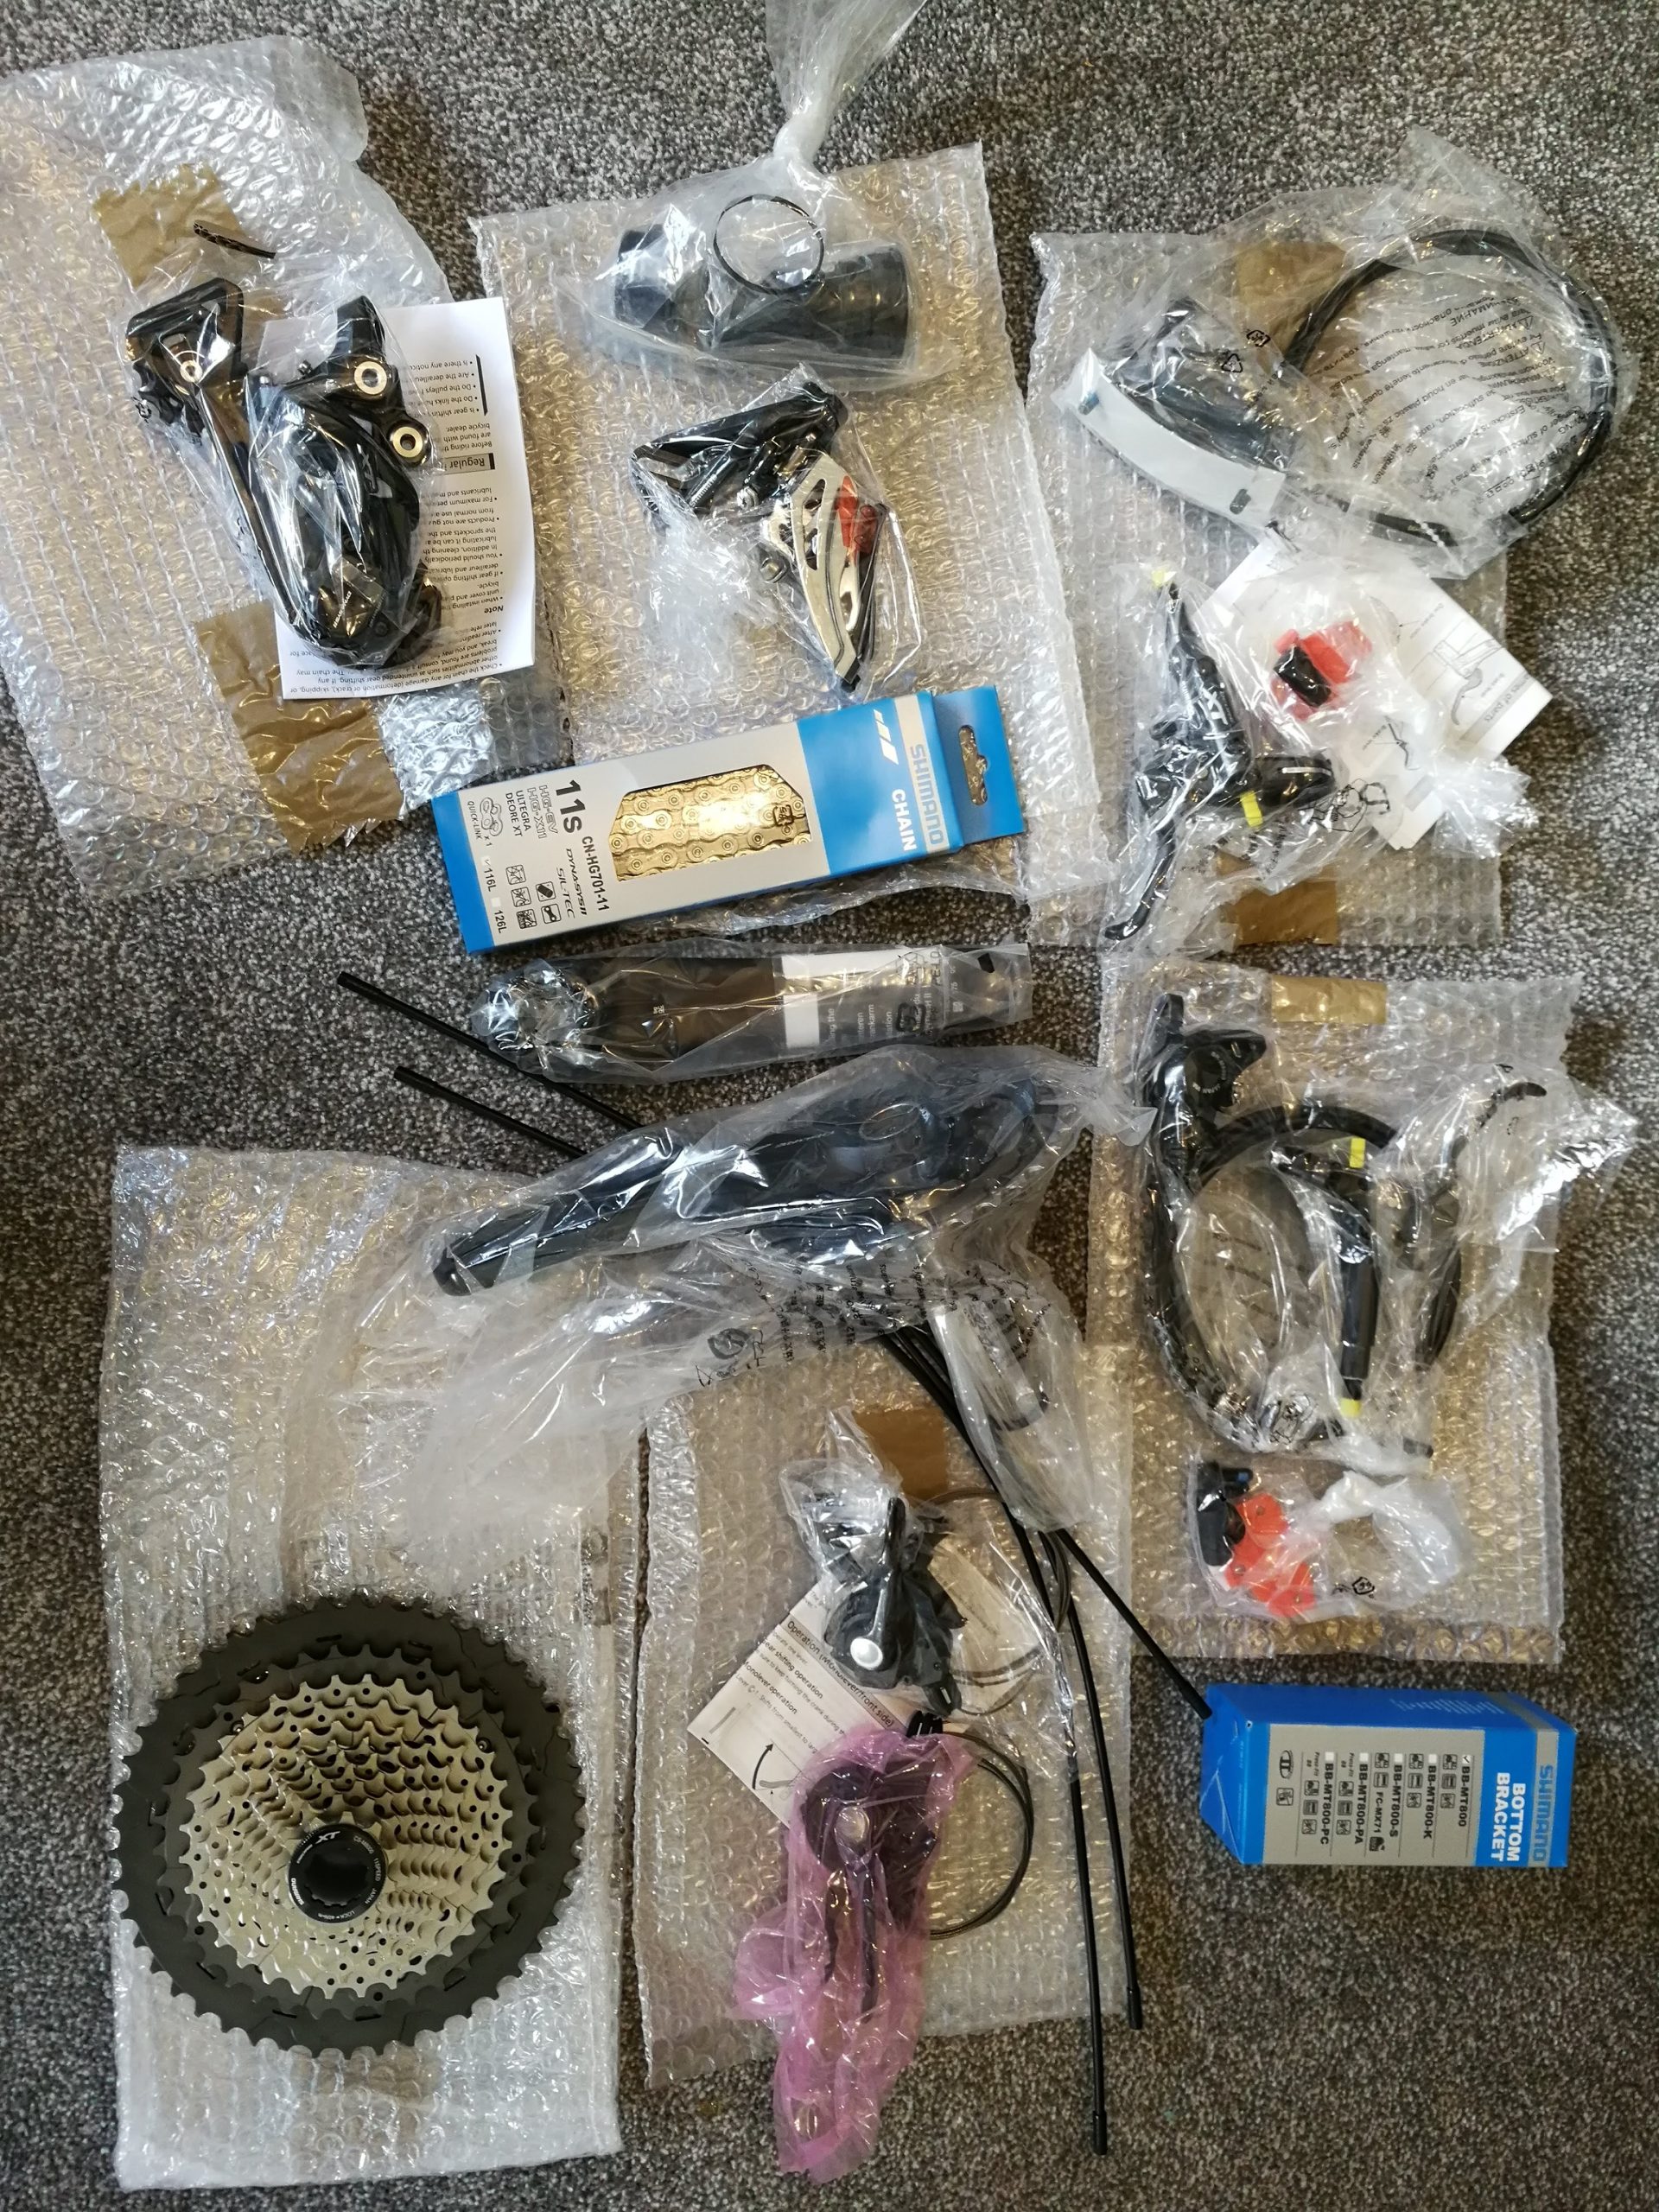
4. Global pandemic. Decide this is the ideal time to turn your living room into a workshop, and order all of the parts you think you need. As you reach later steps, realise you have forgotten several (edit: many) parts and make new orders, which may or may not include headset spacers, IS to post mount adapter for your rear brake, cable ends and… tyres.
5. Slather seatpost in grease and install in the frame.
6. Hang frame in stand and admire the beautiful workmanship. Get distracted whilst working at nearby desk by staring at it.
7. Install bottom bracket. Threaded, but Shimano have reduced the size of the outer casing and the adapter that came with it (specifically designed for increasing the size so it fits the original BB tool) doesn’t exactly match the BB tool, and is made of plastic, but you get the BB threaded in satisfactorily tight.
8. Install crankset. You remember to install the cranks 180 degrees to each other. You try to screw the end cap in but the threads aren’t far enough out. Whack the other crank a few more times with your palm/mallet to get it flush with the bottom bracket.
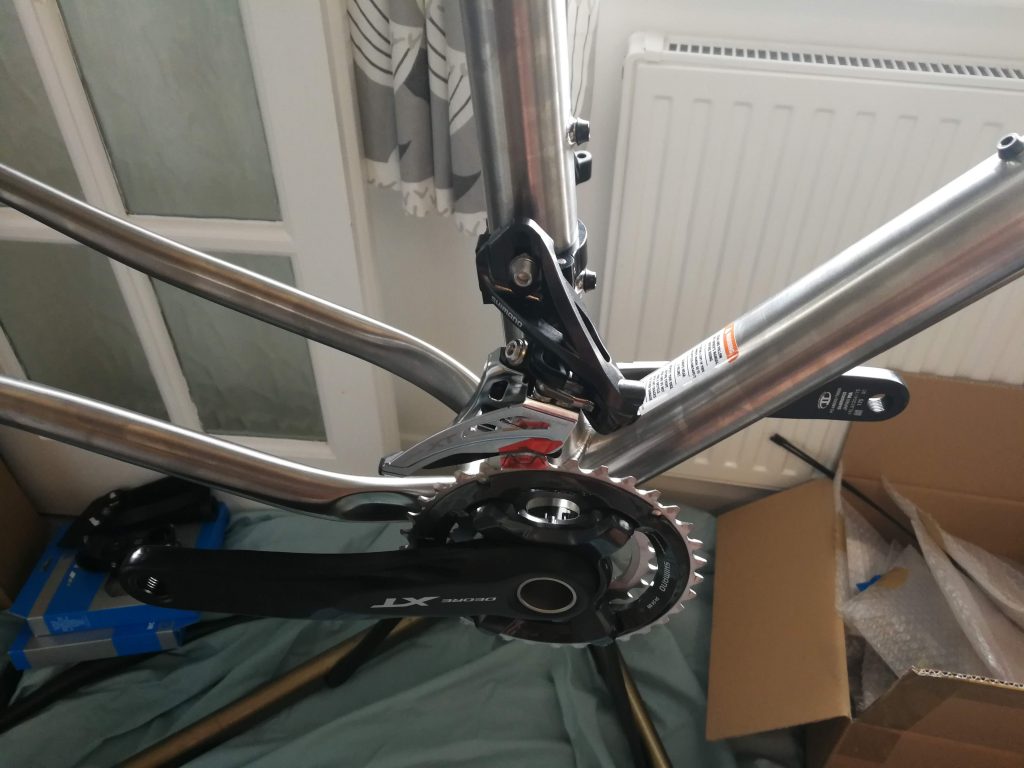
8. Install derailleurs. Yes, two derailleurs, because you grumble at the 1x trend and know you will need all the gear inches you can get. Pretend that you didn’t have the wrong front derailleur installed on the bike for a week before noticing it was side-pull rather than top-pull. Get slightly exasperated over the compatibility minefield of the bike industry (why are there TWELVE types of XT M8000 front derailleurs?).
9. Install crown race. Borrow a friend’s crown race installation tool but it’s too small to fit over the tapered MTB fork. Ask Broken Spoke but theirs is too small as well. Watch videos of homemade bodges with PVC piping but decide against it. Ask your local bike shop. Beeline Bicycles to the rescue.
10. Install headset cups. Borrow a friend’s headset cup installation tool so they go in square. Realise the press doesn’t have wide enough plates for your headset so dismantle an old secret santa gift to use some spare sprockets as spacers.
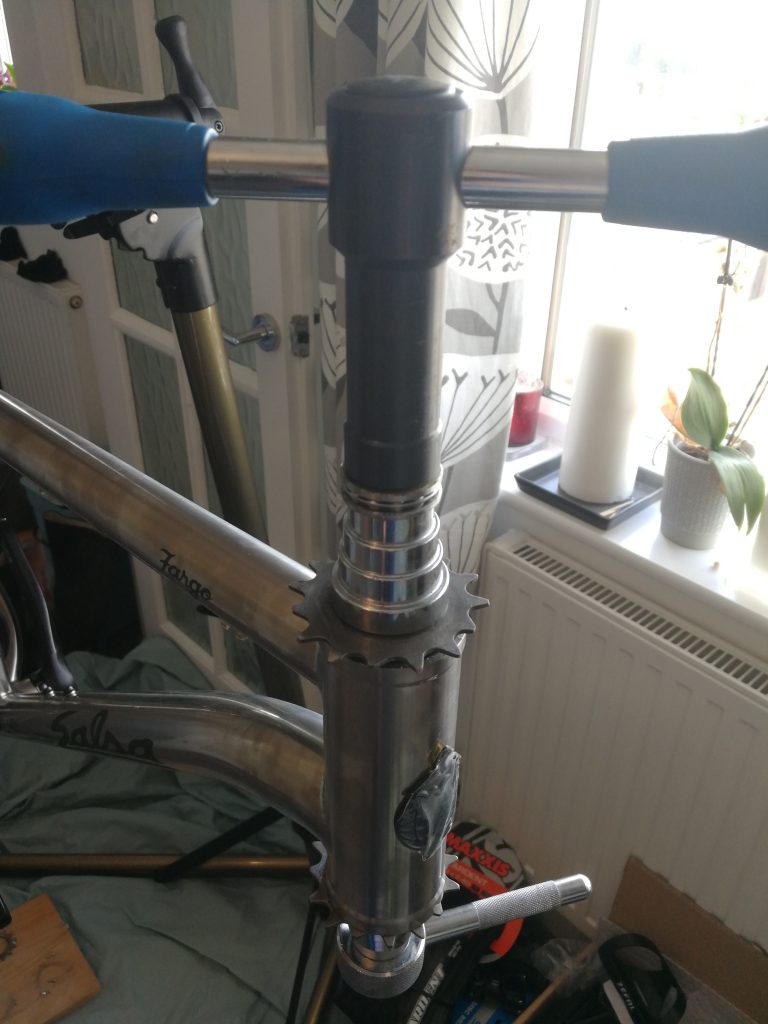
11. Install fork, headset bearings, cap, spacers, stem, spacers, so you can measure the fork for cutting. Stress out over how many spacers you want.
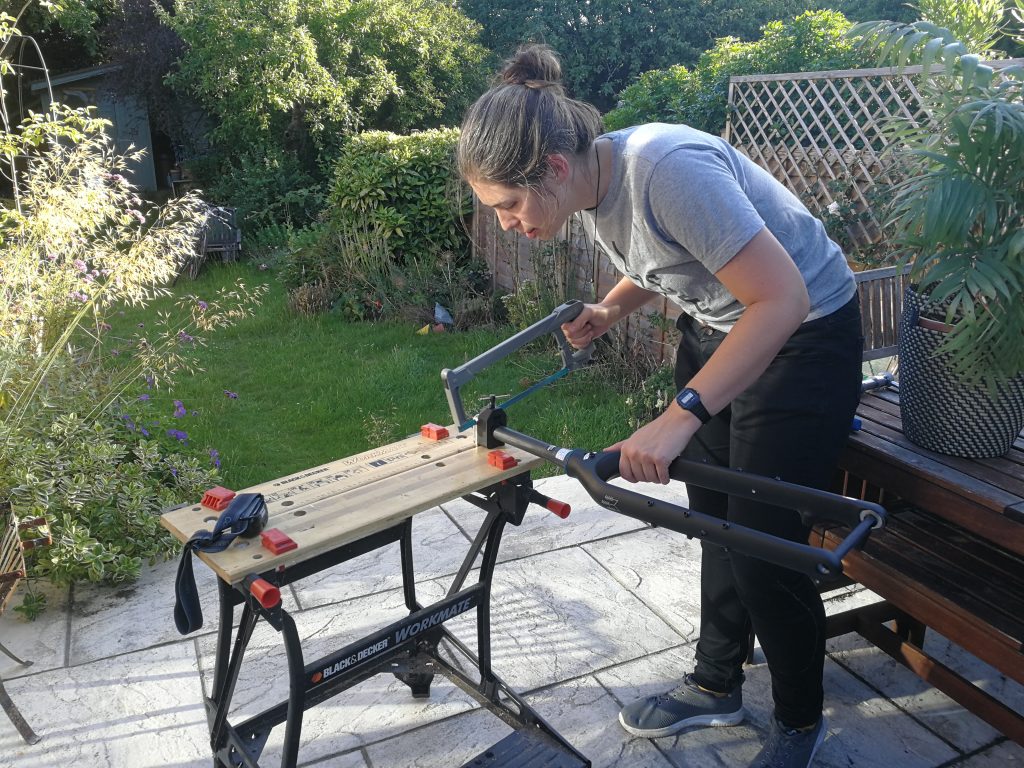
12. Cut fork. Borrow a friend’s fork cutter tool and try not to breathe in the carbon dust. File down the rough edge. Install again, slathering grease everywhere. Realise you didn’t cut it quite enough, so fit some different spacers so the top cap and compression plug can actually compress.
13. Install handlebars, brake shifters and gear shifters. Ponder whether the flat MTB handlebars are too wide to get out of the house.
14. Attach brake calipers. Be thankful that your best guess at the adapters you need turned out to fit. Take far too long to figure out where to attach the rear brake caliper.
15. Hope that by this point your wheels (29er, boost spacing, 6 bolt, tubeless ready) have arrived and install the disc rotors.
16. Install cassette. Pop the wheels into the frame and remark how much it’s starting to look like a bike. Adjust brake caliper position so the discs rotate freely.
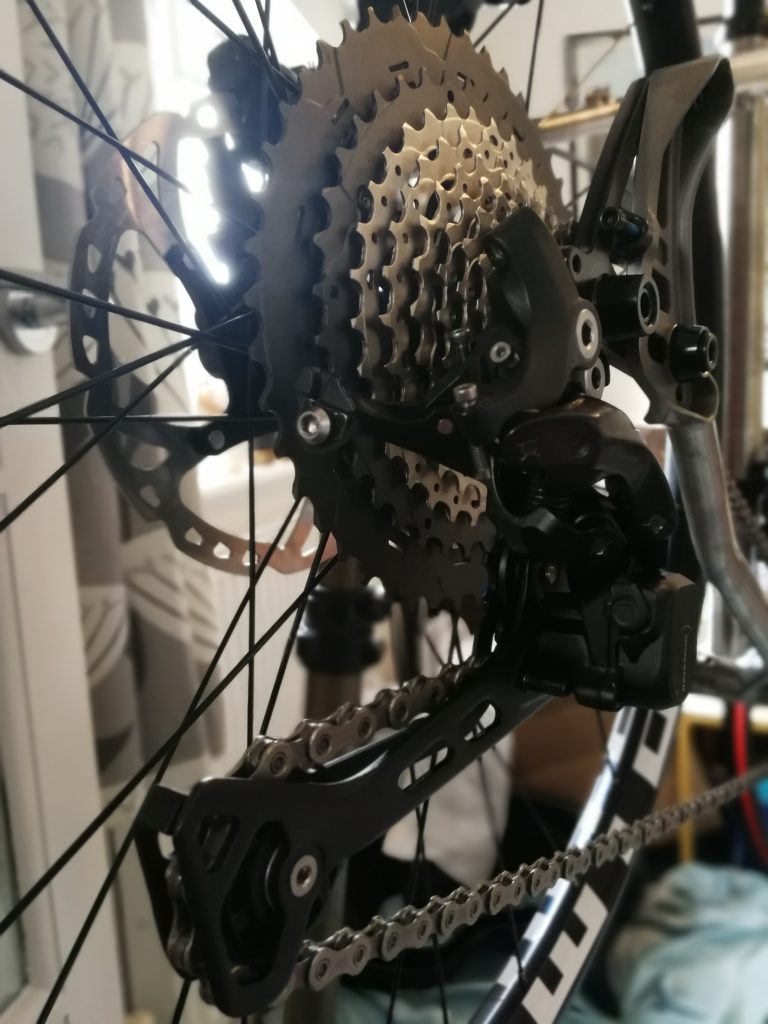
17. Install chain. Measure by threading chain big cassette to big chainring and reaching a 2-link overlap. Remember you loaned your chain breaker to a friend, retrieve it, shorten chain. Thread through derailleurs and rejoice in the beauty of quicklinks.
18. Connect gear cables. Find the cable housing that came with the groupset, realise it’s not long enough, order some more. Borrow a friend’s cable cutters after you mangle it with non-cable specific cutters. Cut to size and route cable and housing through the guides on the frame. Adjust tension with barrel adjusters and adjust limit screws to index gears.
19. Route brake hoses. Attach brake and gear housing to frame mount points with cable ties.
20. Connect brake hoses to levers. Cut brake hoses, mangle hoses trying to get the metal needle insert into the end with clamps and a hammer, order new inserts and needle driver tool, re-cut brake hoses, use needle driver to drive in the needles, fit olive and screw into brake levers. Bleed brakes.
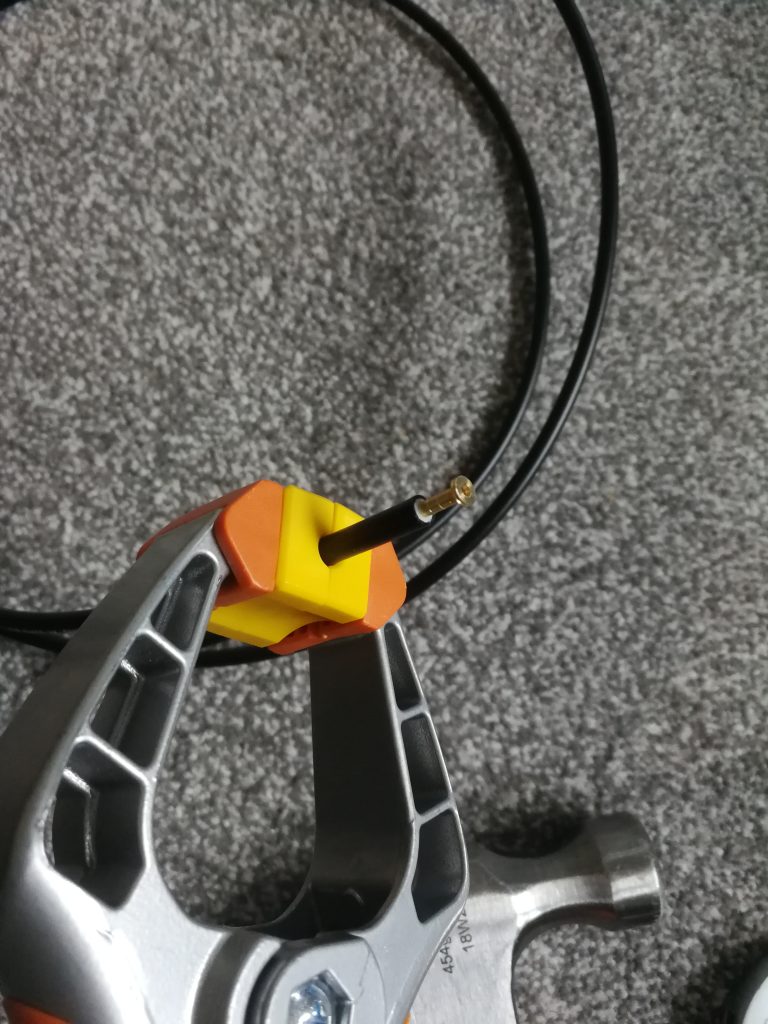
Attempt 1 = fail 
Attempt 2 = success
21. Fit tyres and fill with tubeless sealant. Catastrophically mis-read the max tyre pressure, explode tyre, fracture wheel, order new wheel, fit tyres, fill with sealant, pump up to a more reasonable pressure.
22. Realise that you need to adjust the alternate dropouts so the rear tyre doesn’t hit the seatpost. Be thankful you left some slack in the chain. Fit wheels into frame.
23. Finishing touches. Crimp cable ends. Add handlebar grips. Find a spare saddle under your bed and install. Fit pedals. Remember you need bottle cages and order some.
24. Give your local bike shop the most annoying task – to check over a bike that someone else has built. Be very grateful to them.
25. Ride bike. Get muddy.
Tools used:
- Torque wrench and bits
- Threaded bottom bracket tool
- Crown race installation tool (bike shop)
- Headset installation tool
- Fork cutting alignment tool, saw, file
- Allen keys
- Screwdrivers
- Cassette lockring tool
- Wrench that goes on the cassette lockring tool
- Pedal spanner
- Adjustable spanner
- Chain breaker tool
- Cable cutters and pliers
- Grease
- Shimano brake bleed kit
- Tubeless sealant
- Valve core remover
Nice one Kat, I enjoyed reading this immensely and afterwards shall never allow myself to think for a second of the possibility of building my own bike :). I am more than happy to leave it to the pros.
Keep up the good work, I hope you get a lot of enjoyment out of it to make up for what seems like a bit of a ball ache putting it together.
Bike looks wonderful and to know that you built it yourself must make you very proud. Point 21 cracked me up. Good that you can look back at all this and laugh now but I imagine at the time it must have been a bit of a low point.
I’ve built many bikes up but mainly old school steel bikes with less sophisiticated components so can really appreciate the amount of love, sweat and tears that went into this build.
Looks all ready for a big adventure now.